Spanakopitakia
Spinach & Feta Pies

Sunday was baking exchange day! I got really tasty chocolate cookies and in exchange I made these little dough pies, filled with feta and spinach.
Thanks to this excuse, Phil didn’t have to get his hands dirty but only make the most out of it by eating both the cookies and the Spanakopitakia.
Spanakopita has countless different variations in Greece. I have at least six different recipes that I love equally and will probably post them all at some point.
The main difference between the recipes is either in the kind of dough you use or the way you treat the filling (cooked once Vs. cooked twice).
Dough: This one is called kourou dough. It’s an incredible easy dough to make and I promise it won’t drive you mad. It’s made with yoghurt and olive oil which makes it very soft but not sticky at all.
Filling: I cooked my spinach filling once. This means I stuffed the little pies with raw spinach that cooked in the oven. This version is more flavourful and fresher at the same time. It requires a small amount of pre-work to make sure that the spinach doesn’t get rid of all its water while cooking in the oven.
One by one, you will eat them all.
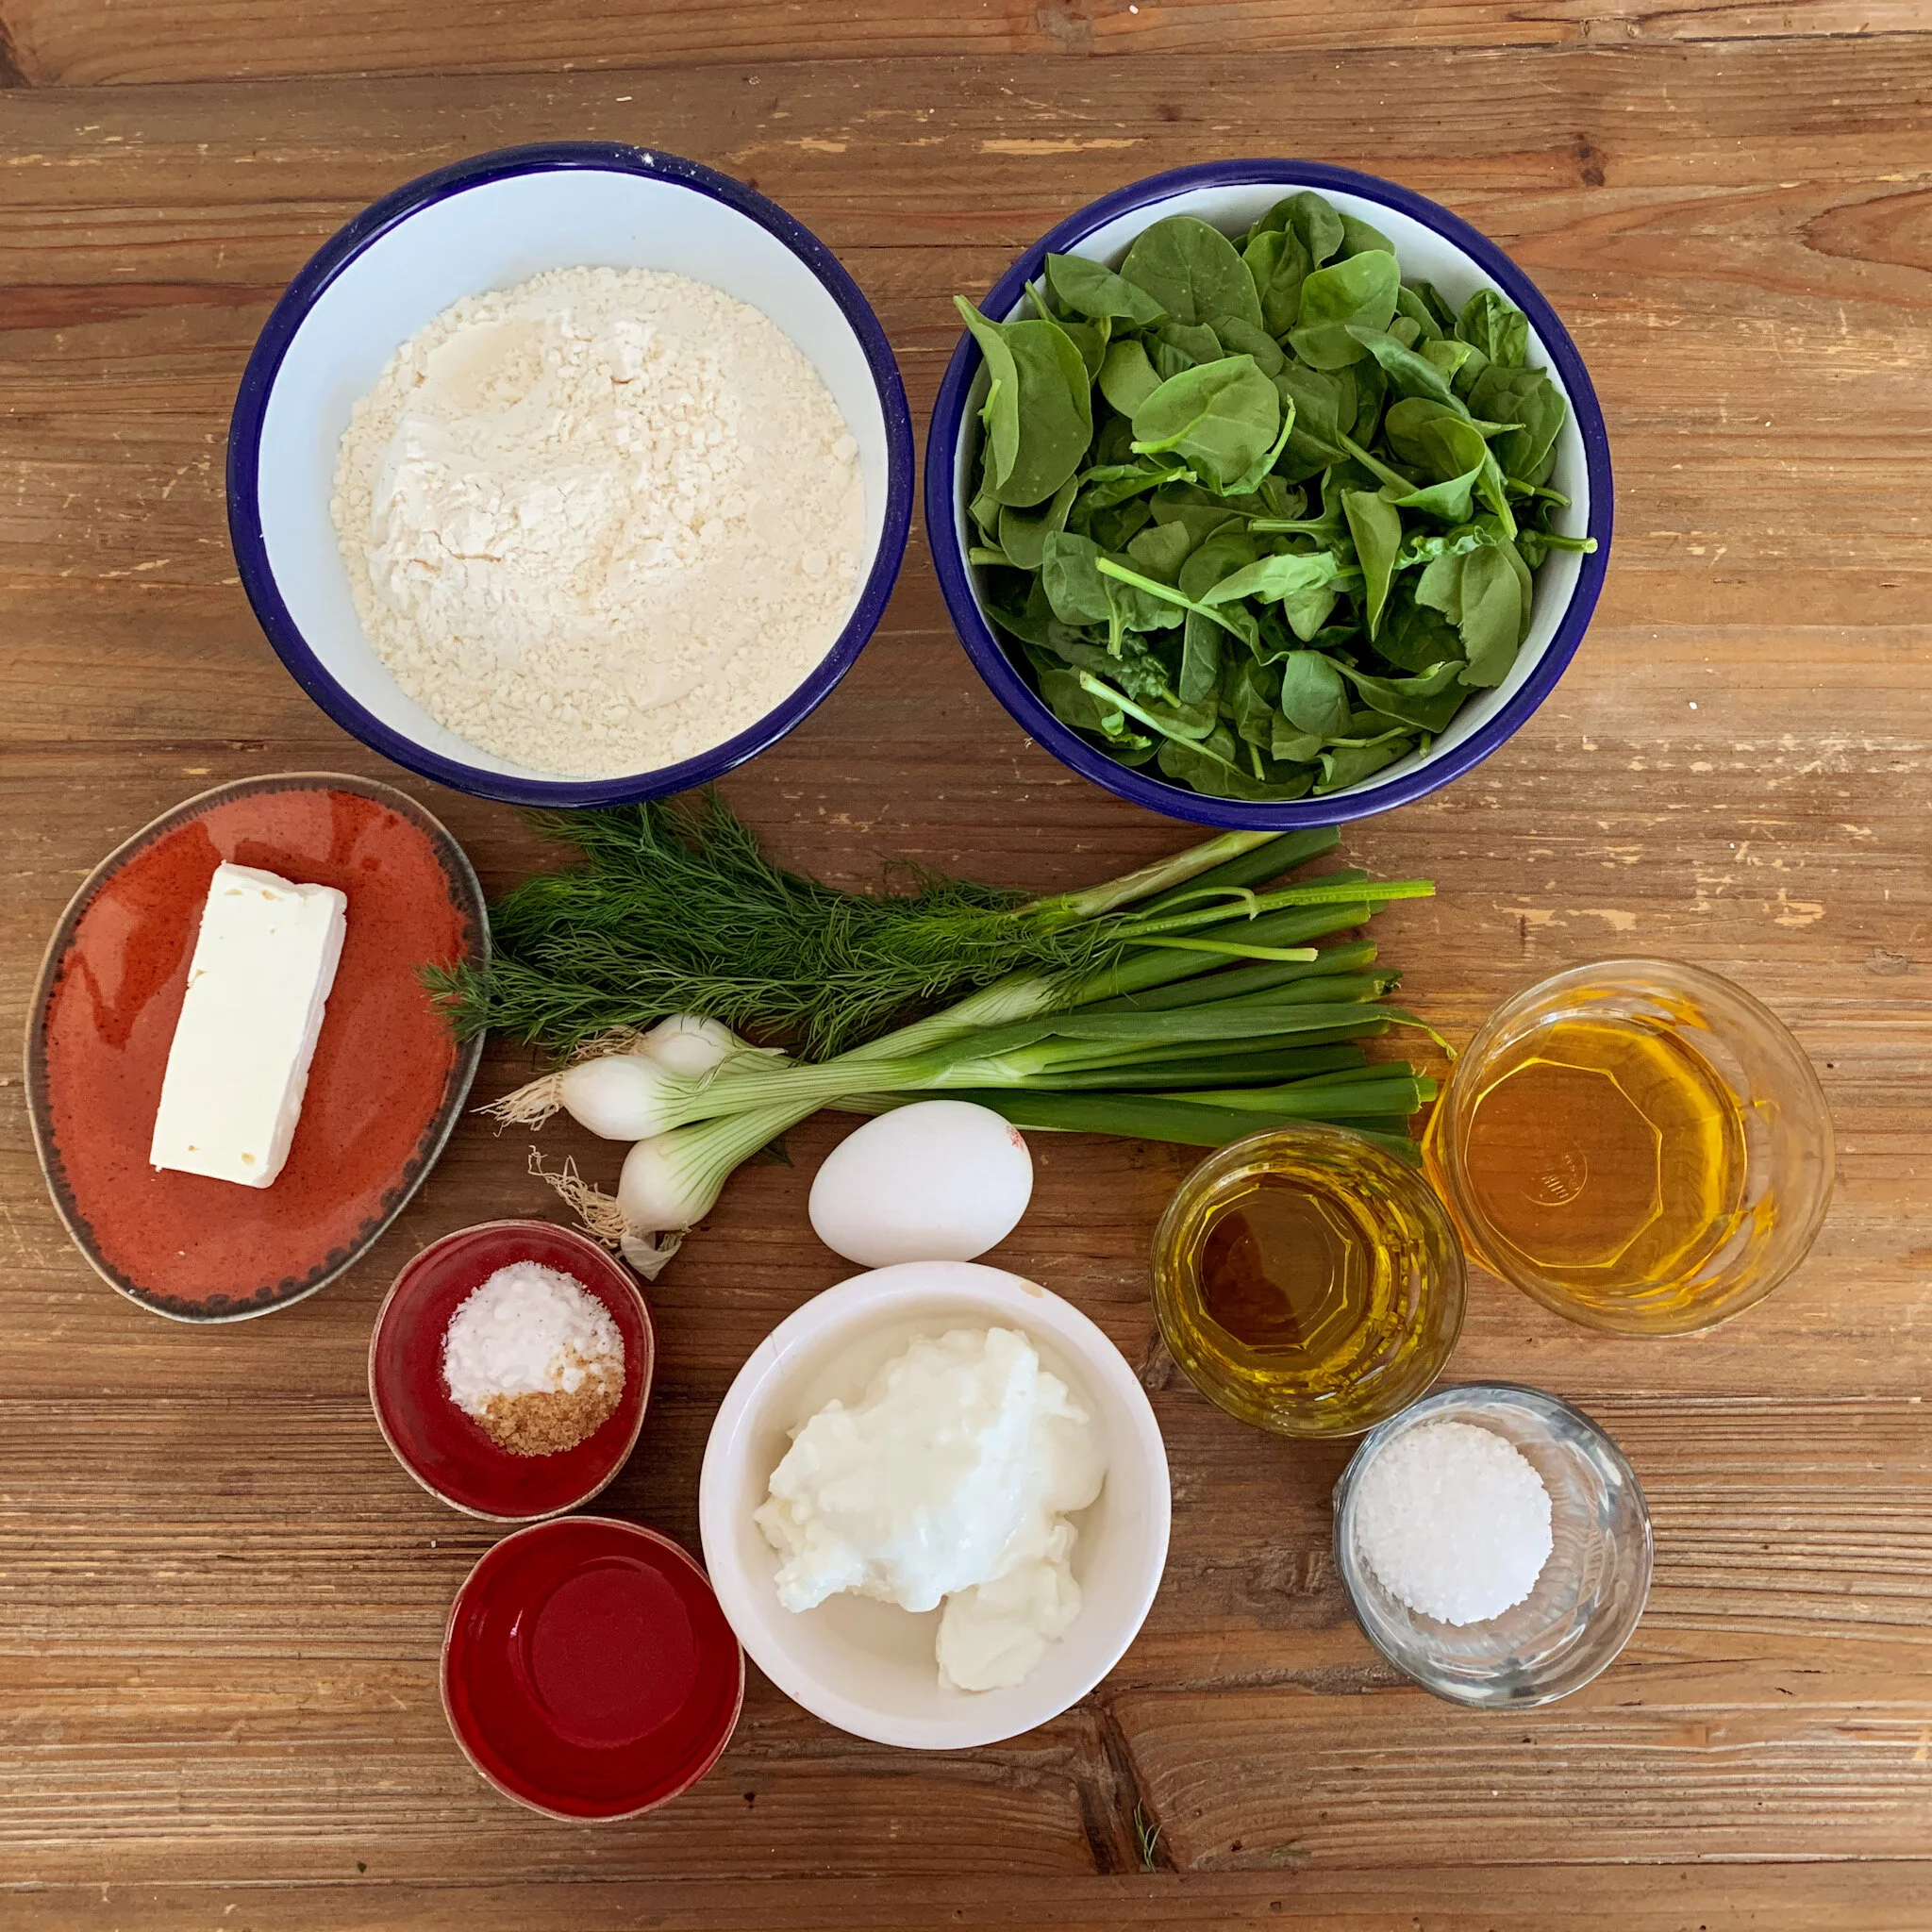
Ingredients list
For the dough
400g all purpose flour
180g Greek yoghurt
100g seed oil (or sunflower oil)
100g olive oil
1 pinch of salt
1 pinch of sugar
1 tsp vinegar
1 tsp baking powder
Sesame seeds (optional)
1 egg yolk = 1/2 tsp of milk for brushing
For the filling
400g of spinach
1 generous handful of dill
3 spring onions
Pepper
Coarse salt (for rubbing)
150f of feta cheese
Tools
Colander
Rolling pin
A big round cookie cutter
Oven
Cooking time
10min pre-work + 2h rest
1h to prepare the dough, knead & shape
180° C FAN for 15-20mins
Step by Step
Filling Part 1:
The steps below can be done the day before you bake.
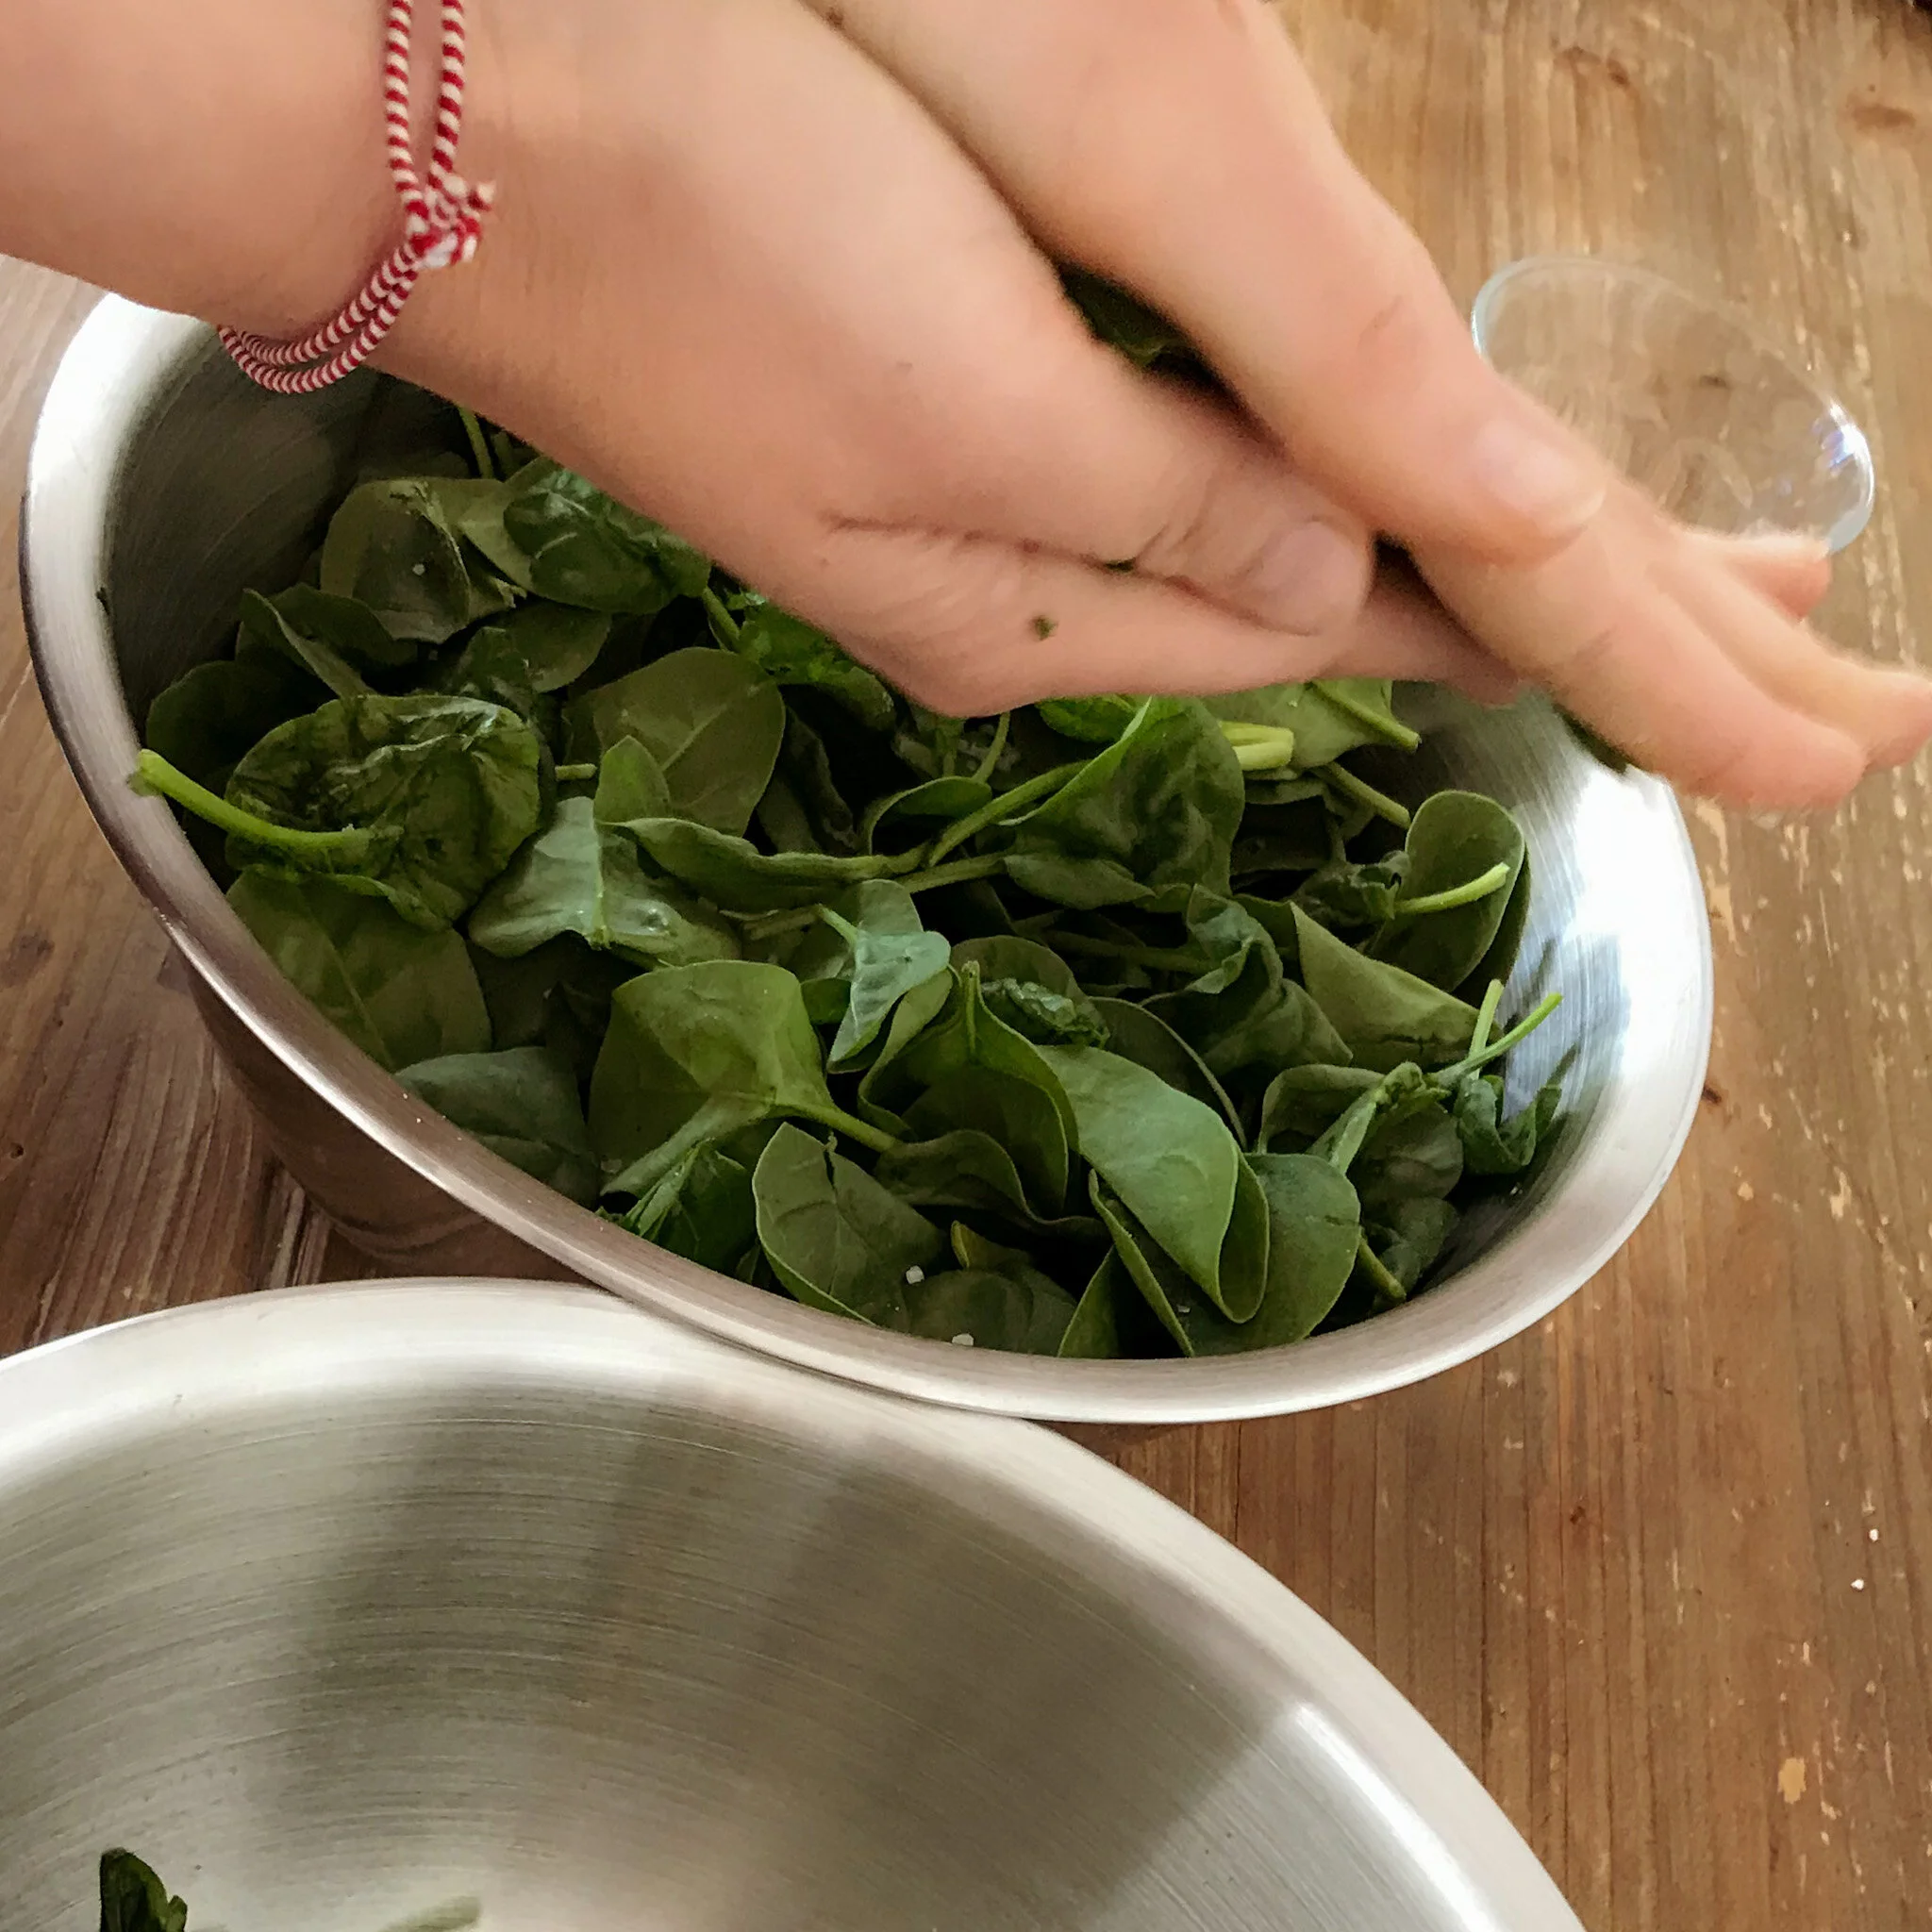
Wash your spinach and put it in a colander inside the sink. Get a generous handful of coarse salt and scatter in on the spinach
Get a handful of spinach and rub it between your hands for a few seconds and set aside in a separate bowl
Repeat the same for all the remaining spinach. Don’t be tempted to add more than one handful of salt or it might negatively influence the taste of your spanakopitakia
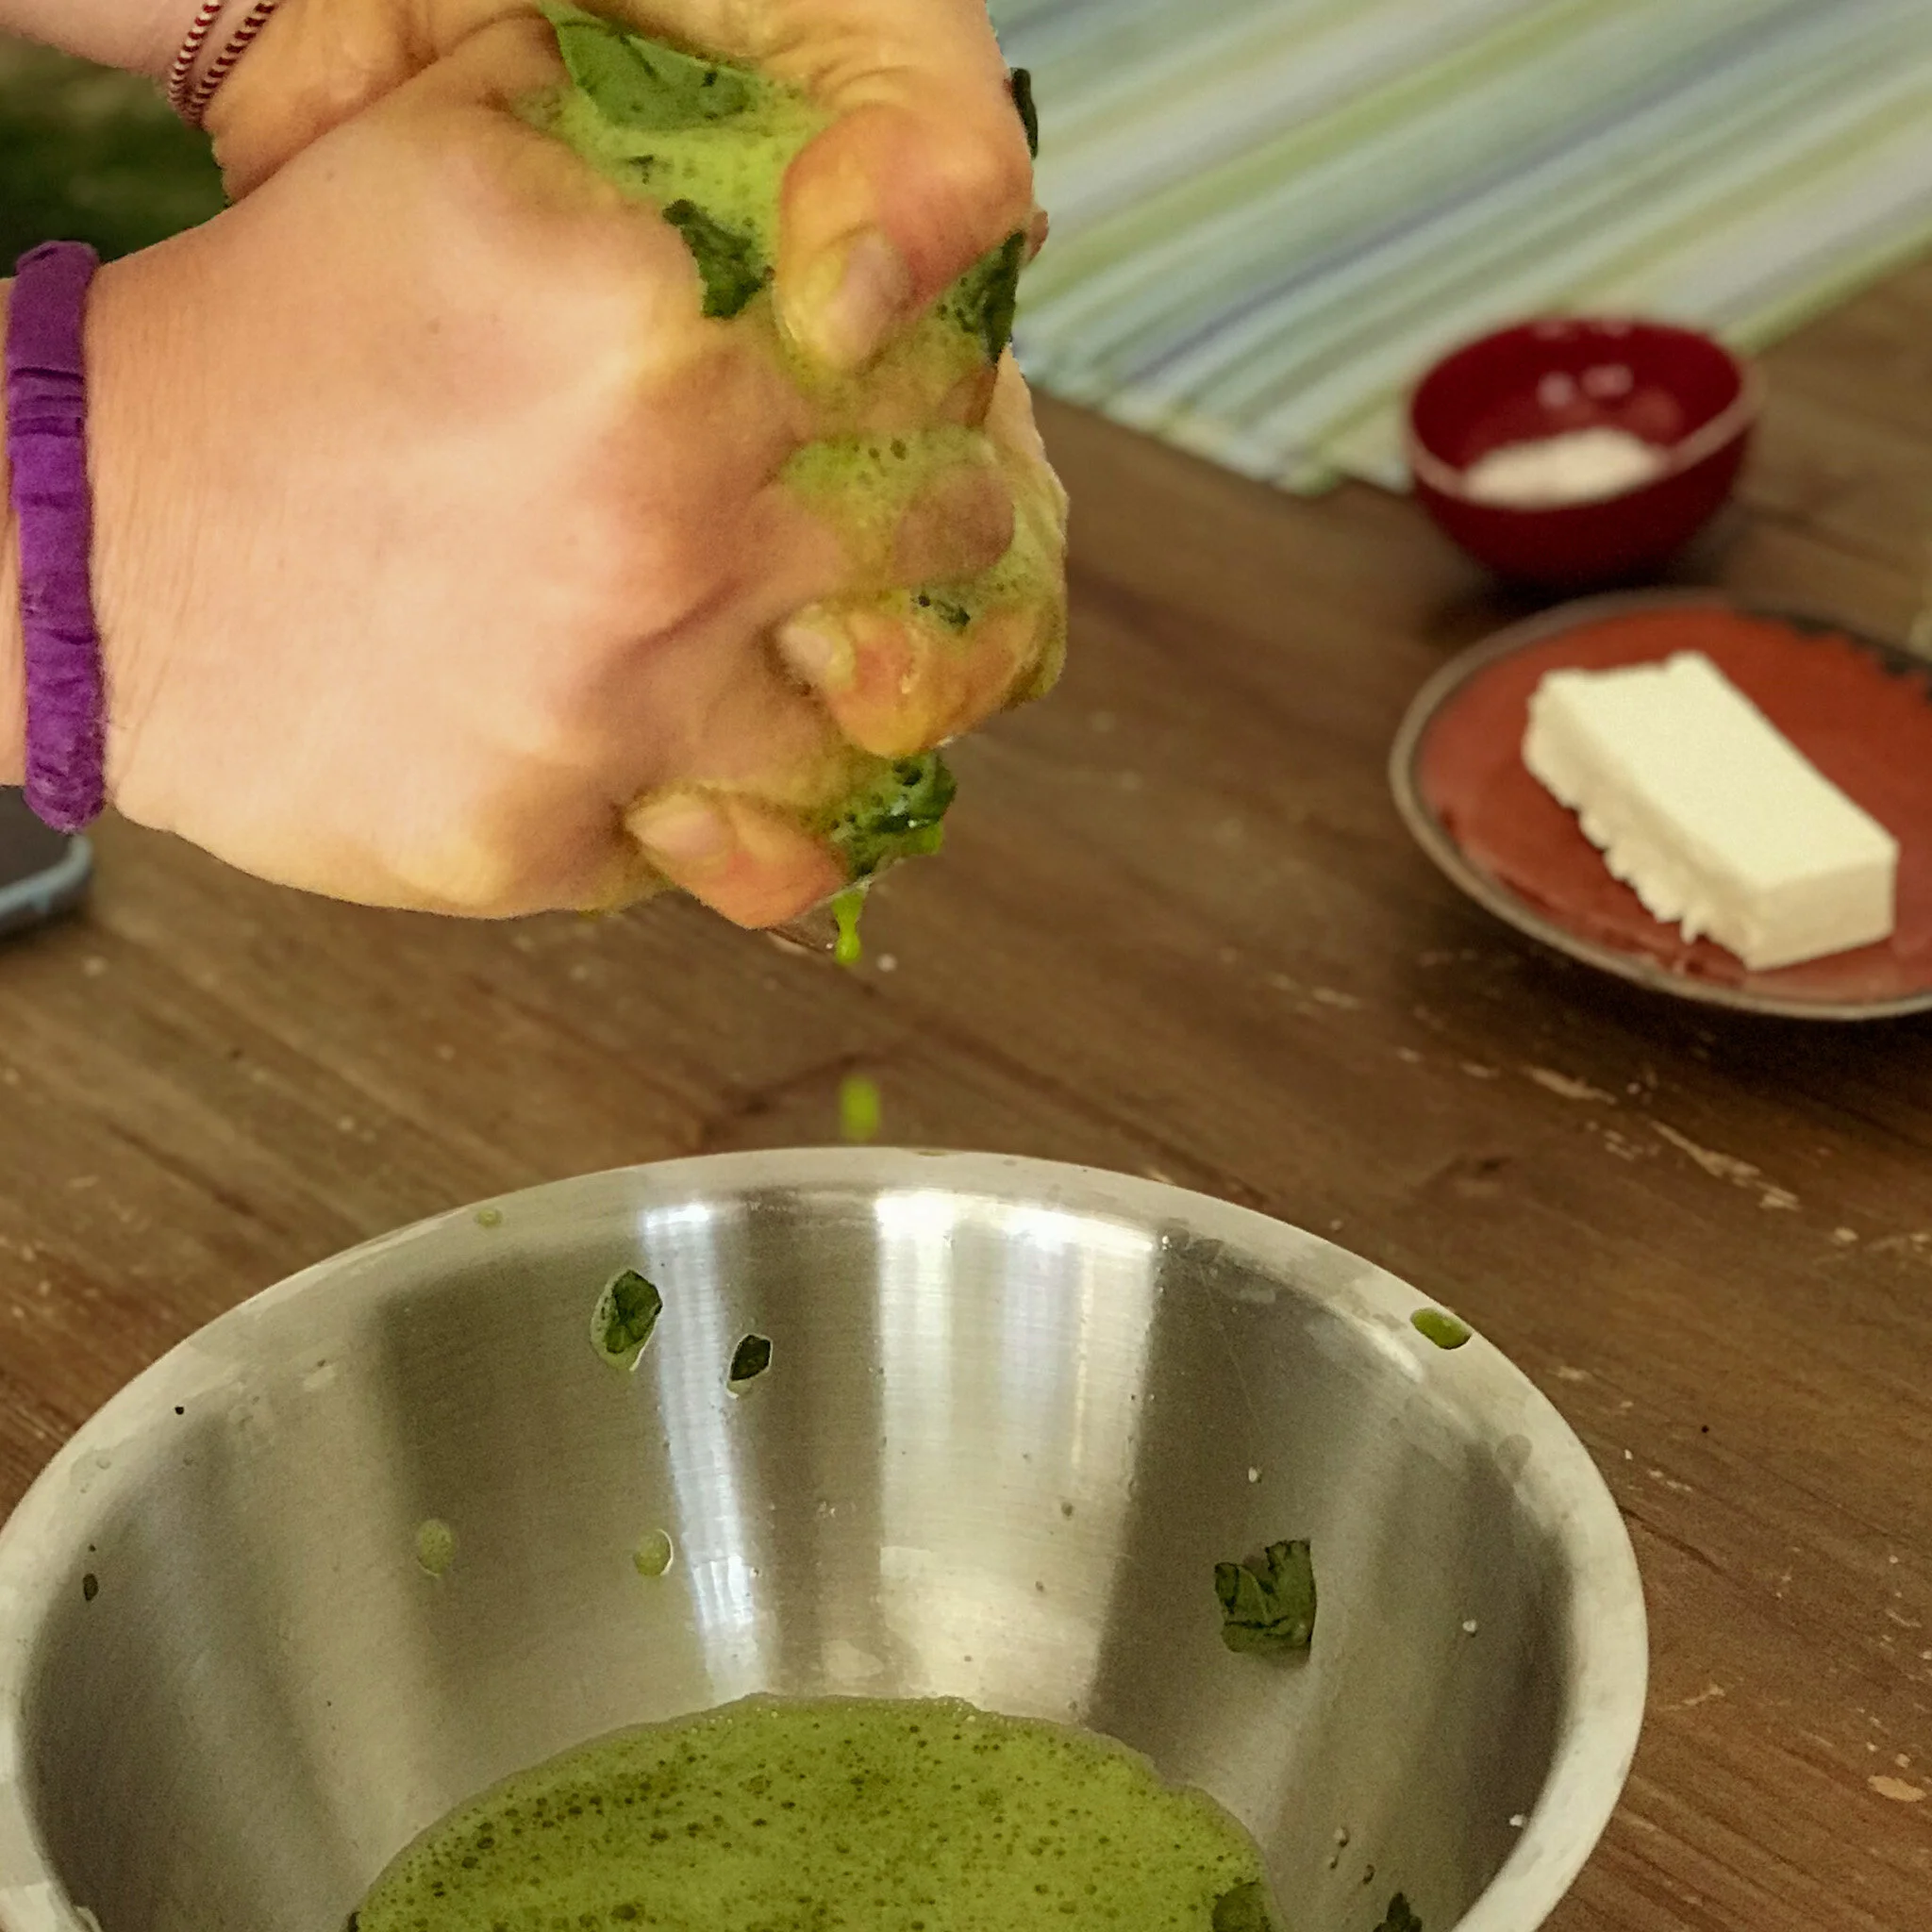
Once you’ve rubbed all the spinach, take little batches in your hands and squeeze to get rid of all the water (images below)
When you finish cover your bowl with the squeezed spinach and let it rest for roughly 2 hours
Dough & Filling Part 2:
Combine flour, sugar, baking powder and salt in a bowl
Add the vinegar, yogurt, olive oil and sunflower oil. Mix with a spoon until all of the ingredients are completely combined and the mixture comes together
When the dough starts to form, continue kneading by hand. After 5min, cover with cling film and let it rest for 30 minutes in the fridge
In the meantime take the bowl with the spinach you previously put aside, and chop it with a knife
Add finely chopped dill and spring onion to the mix
Crumble the feta with your hands and add it into the bowl
Add pepper and mix everything; your filling is ready
Take the dough out of the fridge and use a rolling pin to flatten it out (roughly 3mm thick)
Use your cookie cutter to cut out circles
Put a tsp of filling in the middle of each circle. Fold the round circle of dough in half and press the edges with your fingertips to seal it. If it doesn’t stick just wet your fingertip and pass it around the edges to make them sticky again
Once you finished, place the spanakopitakia in a tray lined with parchment paper
Brush the with the egg-wash (milk+egg yolk) and if you like, scatter some sesame seeds
Bake in the oven 180° C FAN for 15-20mins
Filling Part 1


Filling Part 2 & Dough


Tips & cheats (what can go wrong and how to fix it)
This recipe has some downtime, but you can stagger it to avoid spending you whole day locked in the kitchen. I usually prepare the spinach one day ahead and let it rest in the fridge.
If you don’t have a cookie cutter, you can divide the dough in 20 individual dough balls and use the rolling pin to flatten each one of them
You should definitely try using this dough recipe with different veggie fillings
This dough can be frozen and also stored in the fridge for one week
I hope you’ll like this recipe and I’d love to hear any comments or questions you might have. You can reach out trough Instagram (link below) or you can email me through the contact section of the website.
